sharepoint, Sharepoint, SharePoint, document library
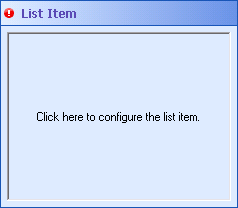
The ![]() List Item property box, for the Create List Item activity, lets you add a list item to a SharePoint® site.
List Item property box, for the Create List Item activity, lets you add a list item to a SharePoint® site.
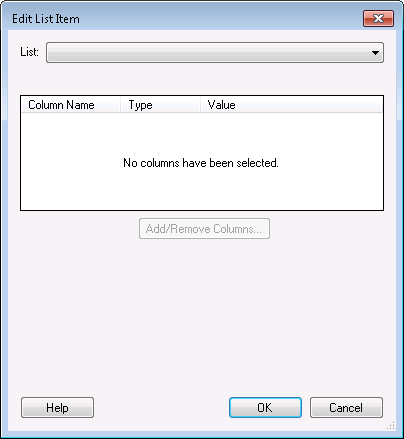
To add a list item
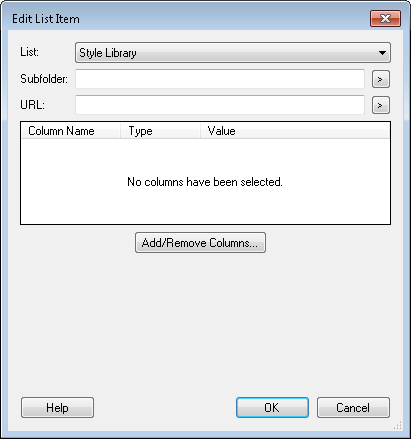
 to use tokens to specify a subfolder. If you do not specify a subfolder, the item will be added to the main list. to use tokens.
Note: You can type a file path next to URL to upload a copy of a document instead of specifying a URL. This document must be on your Workflow Server or a network drive that your Workflow Server can access. Note that files referenced in this way are not exported as part of a Workflow Import File.
Note: An unselected column will be given its default value, if one has been specified, or it will be left blank.
 to clear your search results. to use tokens.
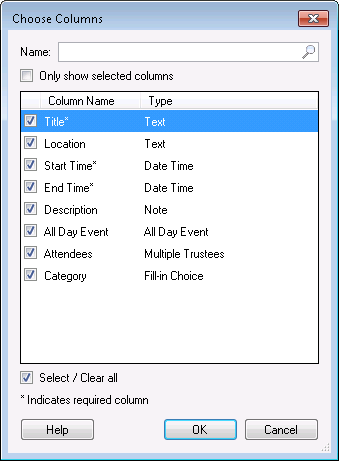
 Note: What you can enter under Value depends on the column type. For example, Date Time-type columns will only allow you to enter dates and/or times and Trustee-type columns will let you enter a user name.
Tip: Hyperlink columns let you insert a link. Use this column type (in combination with the Generate Web Access URLs activity) to link to documents in Web Access.
Important: Required columns have an asterisk (*) next to their name. If you leave a required column's value blank, a validation warning will appear for the Create List Item activity. You cannot publish workflows with activities that have validation warnings.
|
This documentation is specific to version 9.0. You can find the most up-to-date help files for the latest version at Current Online Laserfiche Product Help Files. For further help or feedback, please see the Laserfiche Support Site. |
© 2013 Laserfiche |